2 Data Project Architecture
2.1 Key Takeaways
This chapter gives an opinionated overview of good design and conceptual layout practices in regards to a data project. The areas of responsibility within the project are broken out into
- Presentation,
- Processing, and
- Data layers.
The categories that a given data project may fall into our further divided into
- jobs,
- apps,
- reports and
- API’s.
The rest of the chapter discusses how to break a project down into the previously mentioned layers, as well as considerations for optimizing the Processing and Data layers.
2.2 Lab / Project
2.2.1 Initial Setup
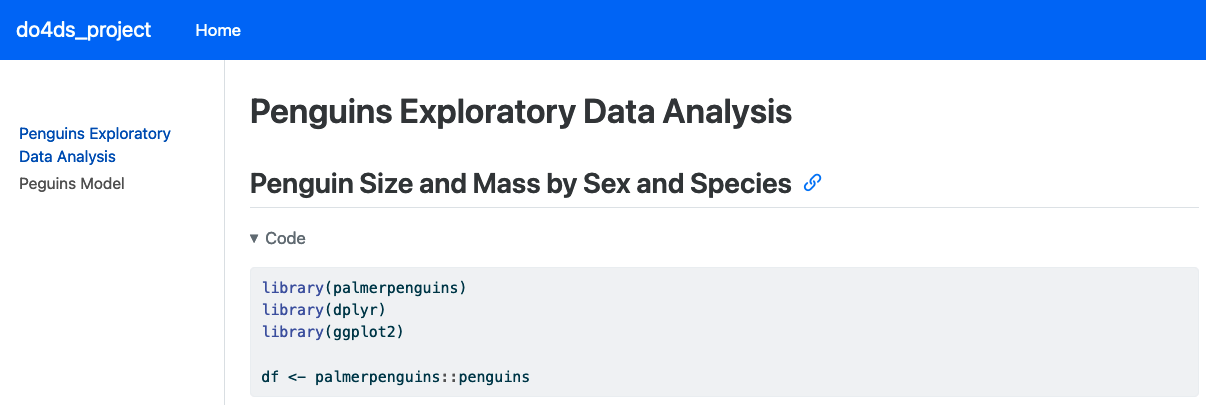
The last chapter, Environments as Code, introduced the example project that we will use throughout the book. You can either clone a starter template for fork the project repo from do4ds_project or create the project from scratch yourself using the following Quarto CLI commands (taken from the Quarto documentation):
quarto create project website do4ds_project
# Choose (don't open) when prompted

quarto preview do4ds_project
… if the quarto preview command loads a new website in your web browser, go back to the terminal and use Ctrl+C to terminate the preview server. Change to the project directory and setup a local python virtual environment (you can grab the requirements.txt file from here, if needed):
cd do4ds_project
# If using python, create and activate a local virtual environment
python -m venv ./venv
source venv/bin/activate
venv/bin/python -m pip install -r requirements.txt
Now that you are in the local project directory you can use the quarto preview command without arguments to continue seeing updates to the local project in your browser:
quarto preview

# Alternately, if you forked the project sample from Github, you can use npm...
npm run preview
If you did not fork the project sample, make sure to create the eda.qmd and model.qmd files from chapter 1 and add them to the sidebar section of _quarto.yml:
project:
  type: website

website:
  title: "do4ds_project"
  navbar:
    left:
      - href: index.qmd
        text: Home
  sidebar:
    style: "docked"
    search: true
    contents:
      - eda.qmd
      - model.qmd

2.2.2 Updates
To complete part 1 of the lab, I had to modify the example code. First, I added a line that would generate a vetiver model and assign it to v and then I changed the path to the local folder where the model could be stored:
from pins import board_folder
from vetiver import vetiver_pin_write
from vetiver import VetiverModel

v = VetiverModel(model, model_name = "penguin_model")

model_board = board_folder(
  "data/model",
  allow_pickle_read = True
)
vetiver_pin_write(model_board, v)
In addition to these changes, I created a separate Python file with the code to run the vetiver API, called api.py, which also required updates to the VetiverApi call to ensure that the API server had the correct input params in order to process the prediction:
from palmerpenguins import penguins
from pandas import get_dummies
from sklearn.linear_model import LinearRegression
from pins import board_folder
from vetiver import VetiverModel
from vetiver import VetiverAPI

# This is how you would reload the model from disk...
b = board_folder('data/model', allow_pickle_read = True)
v = VetiverModel.from_pin(b, 'penguin_model')

# ... however VertiverAPI also uses the model inputs to define params from the prototype
df = penguins.load_penguins().dropna()
df.head(3)
X = get_dummies(df[['bill_length_mm', 'species', 'sex']], drop_first = True)
y = df['body_mass_g']

model = LinearRegression().fit(X, y)

v = VetiverModel(model, model_name = "penguin_model", prototype_data = X)

app = VetiverAPI(v, check_prototype = True)
app.run(port = 8000)
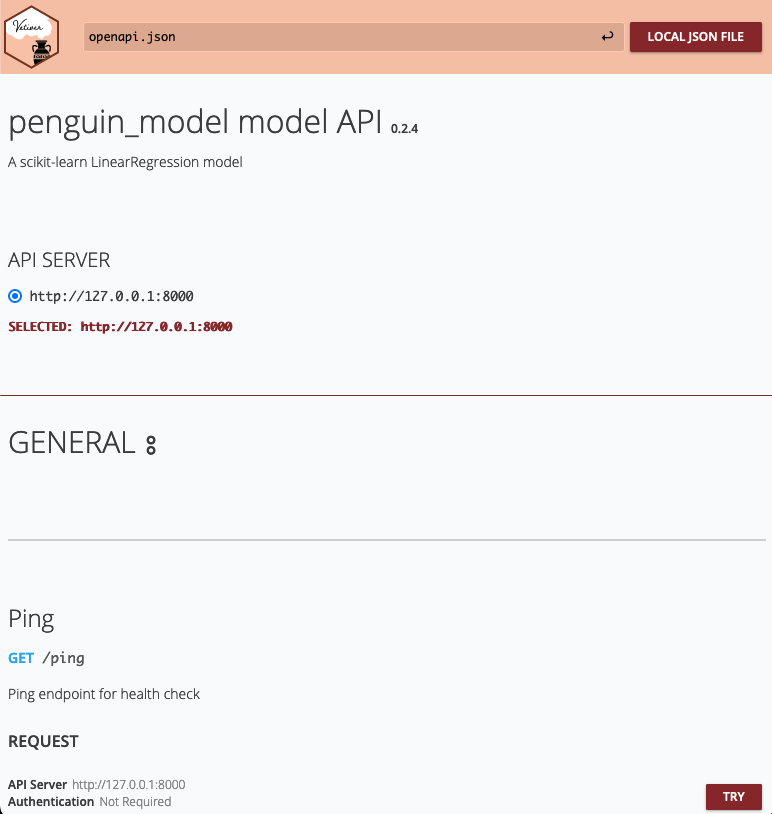
… and then used python api.py to run the API. Once running, you can navigate to http://127.0.0.1:8000/docs in a web browser to see the autogenerated API documentation
